Settings
Objective: Gain an understanding of how to configure a Work Plan.
Once the Work Plan has been created, there will be a list of settings for the user to configure.
Work Plan Information
In this section, you can set the Work Plan name, and edit the Work Plan description.
For more information about the plan administration such as "Delete Work Plan", please see "Work Plan Management" section.
Planning Time Frame
In this section, set the planning start date and duration. Planning Time Frame configures the duration of the Work Plan, and the maximum duration is 10 years. The Start Date determines the beginning of a timeframe.

Note: Any future changes to the plan's start and end dates will affect the configured funding sources and consequently, the projects.
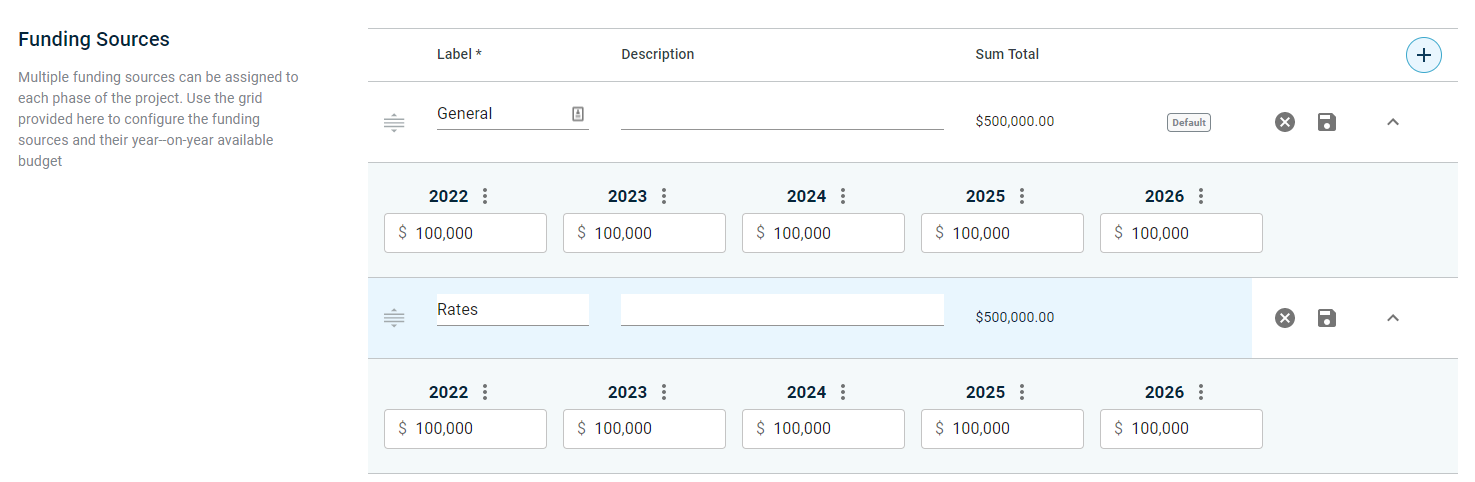
Funding Sources
Users can assign multiple funding sources to each phase of the project. Use the grid provided here to configure the funding sources and their year-on-year available budget. You can also modify/delete a funding source on this page if you have the required privileges.
- Click on the "ADD FUNDING SOURCE" to add available funding sources of the plan, then populate each field with the approved funding values for that year. Depending on how funding sources are distributed and spent in your organization, you can define funding sources appropriately.
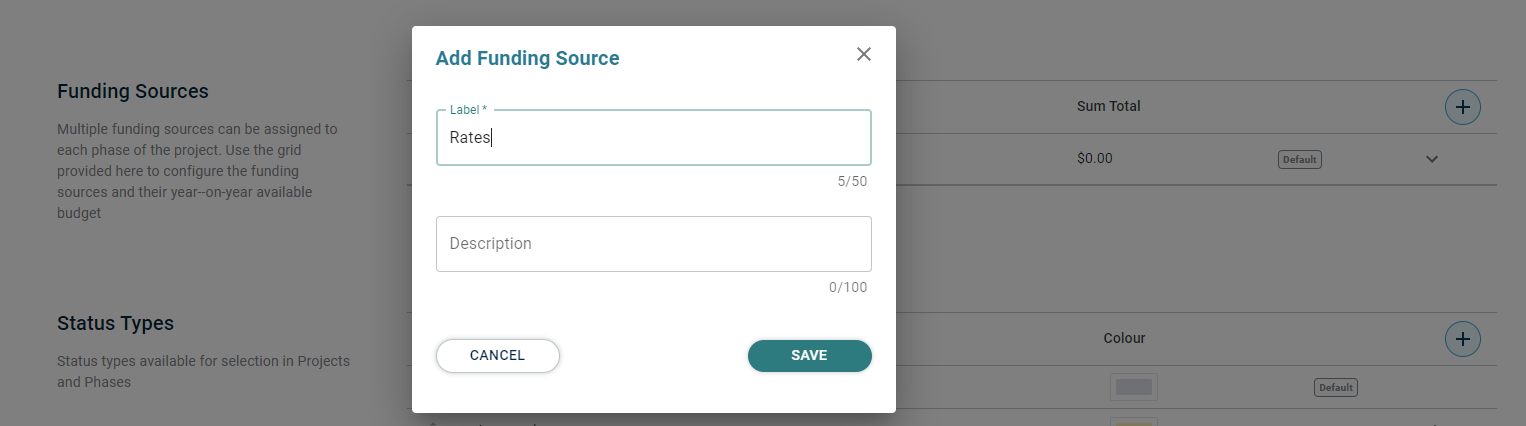
A funding named “General” is created by default. Users can rename this to a more appropriate name if required. As an example, for a council in Australia, a user may create a funding source called "Council Cash", another called "Grants" and one for "Community Contributions".
If applicable, select the primary funding source as "Default", so that it will be the initial funding source of each project.
Expand each funding source and enter the figures per year. Once the figures have been entered, click the “Save” button.
Status Types
In this section, you can define/modify/delete the project status types based on the organization's project status definitions. Default settings are shown below.
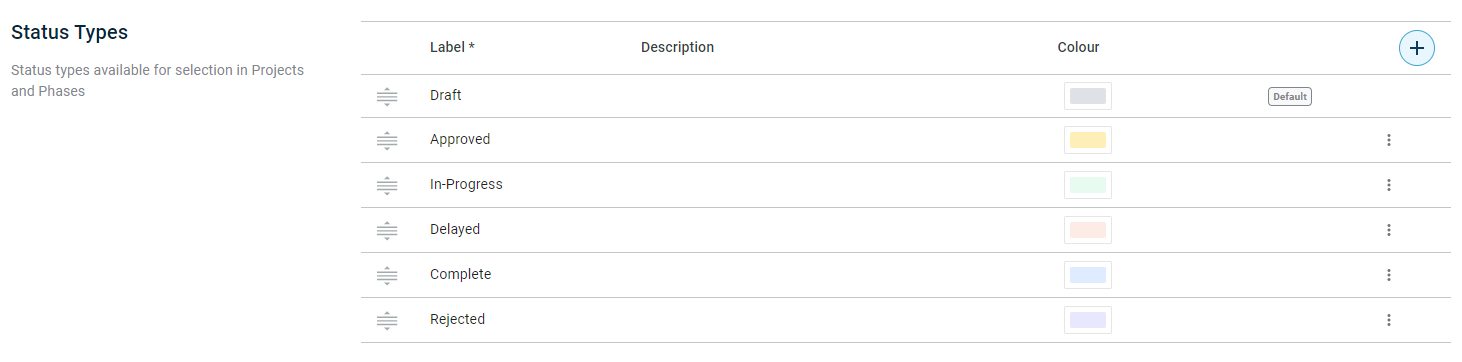
“Draft” is the default option. This would be the pre-populated status when a new project or phase is created. Users can change the default options and remove pre-configured Status Types by clicking on the ellipse, as shown below. The default option cannot be removed.
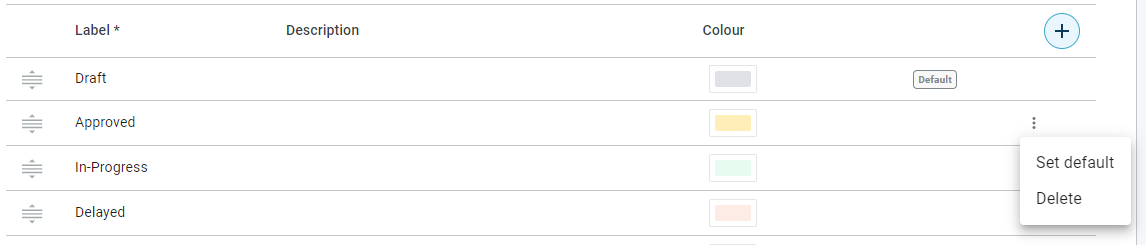
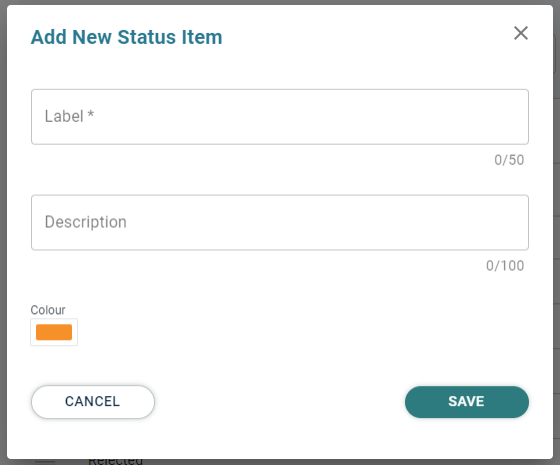
To create a new Status Type, click the “+” button.
Prioriy Types
In this page, you can define/modify/delete the project priority types based on the organization's project priority types definitions. The default options are shown below.
Users can change the default options and remove pre-configured Priority Types by clicking on the ellipse, as shown below. The default option cannot be removed.
To create a new Priority Type, click the “+” button.

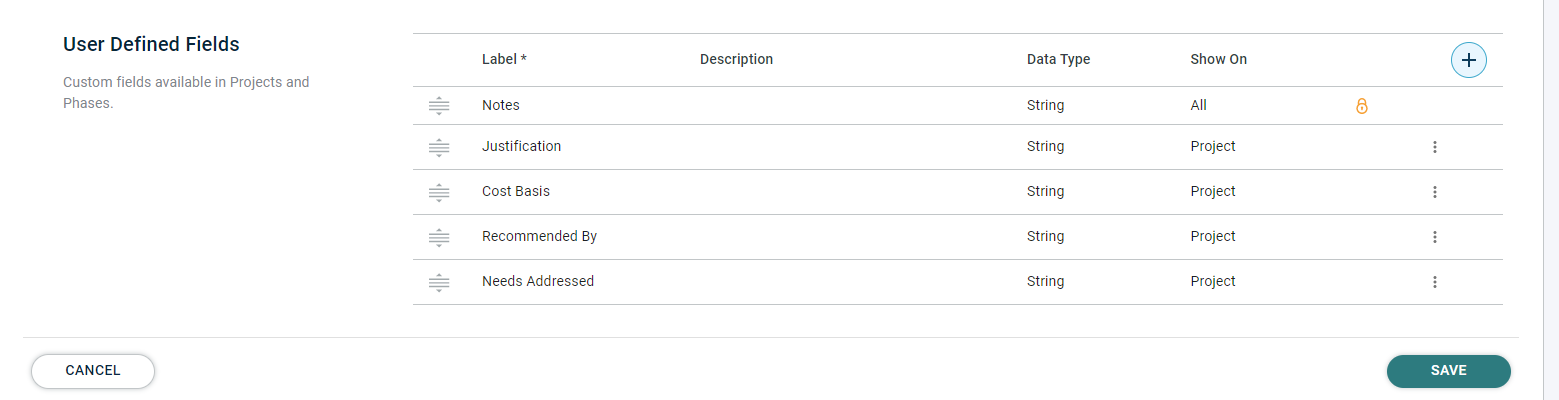
User Defined Fields
In this section, you can modify/define/delete custom fields into Work Planner as they relate to the Project. These fields help the users incorporate any descriptive information of interest into Work Planner.

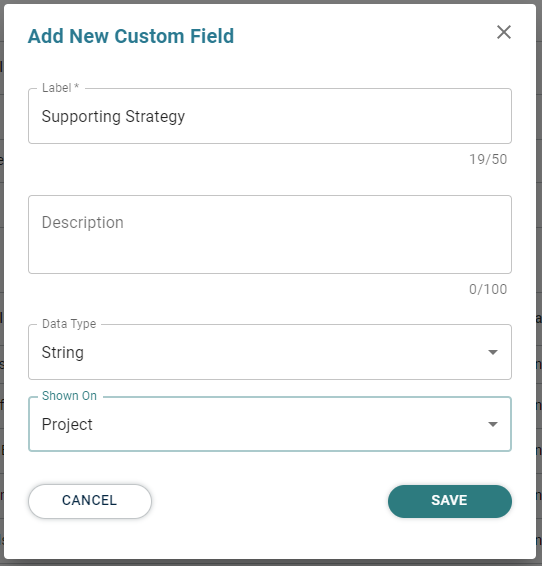
Click “+” to define a new custom field. In “Label”, enter the name of the custom field. Users can also enter an optional description for the field. In “Data Type”, define the type of data used in the field. Please refer to the table below to select the right data type if needed.
|
Format of Information |
Data Type |
|
Brief information in plain text |
String |
|
Numeric figures with no decimals |
Integer |
|
Numeric figures with decimals |
Double |
|
Date / Time |
Datetime |
|
Long Text Information (up to 4000 bytes) |
Longstring |
|
Monetary values |
Currency |
In “Shown On”, select whether the custom field will be displayed on the Project, Phase, All, or None. This defines where this custom information will show in Work Planner.
Once all the configurations are finished, it is important to click “Save” at the bottom of the page to avoid losing any changes.